To prevent spiltting out anouter neck tenon, I clamped some ¾ plywood strips to support the tenon through the whole process.
Before inserting the inserts I put in some hole centers and drive them into the neck block to make an indent. In the last picture I put a little pencil mark in the indents to make them visible.
I drilled the holes for the bolts, but before I drilled the inserts I checked to make sure that I had the holes for the inserts deep enough to allow the bolt to fit without bottoming out.
I put the clamped strips back on and set the inserts.
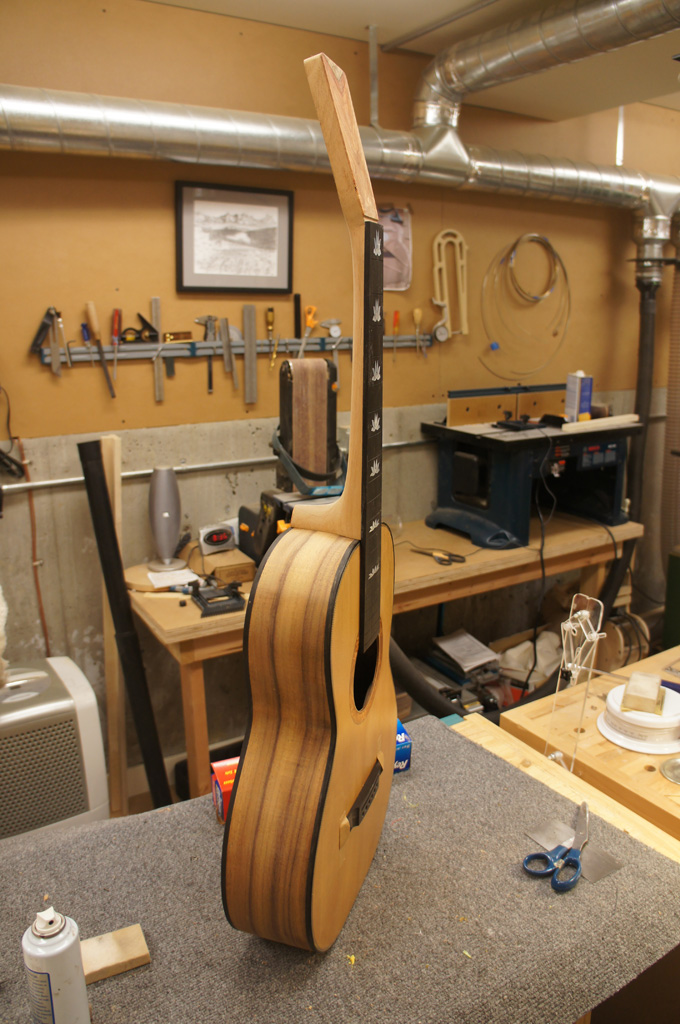
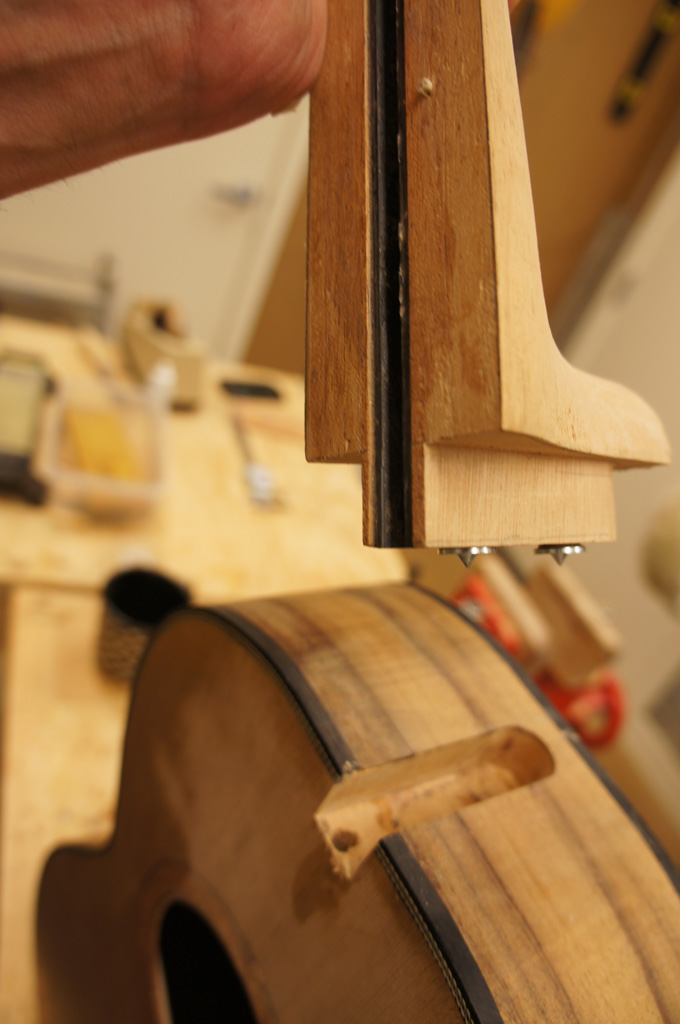
One of the nice things with a Woolson neck jig is that you can set the angle perfect for the geometry that you want and have a nice clean neck to body joint with no need to set the neck angle. For me once I touch the cheeks all bets are off. The next 2 pictures are with the neck bolted on. I am just above the bridge with the straightedge on the fret board.
Jan 21th 2012
I have one hiccup that I need to finish fixing. Other than that I ready to move toward the finish stage for this guitar. Yesterday I shot pictures all day without a data card, so the record of me mucking up the guitar while finish sanding is lost.
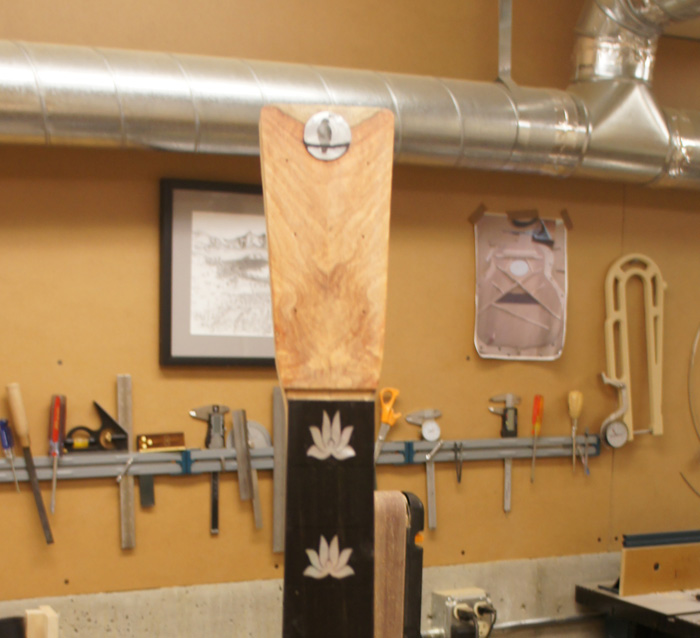
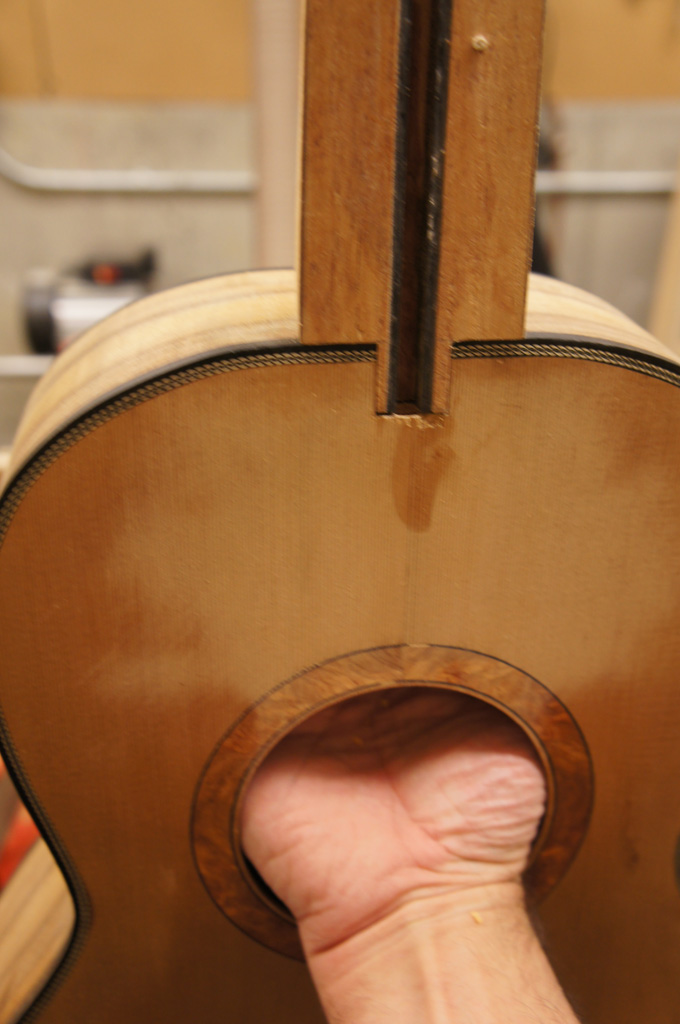
I am using Purflex a manufactured purfling with very fine detail but very thin wood. When I installed I installed at flush to avoid what inevitably happened; I sanded through the wood portion in a small area. I an not sure how I did that but I suspect at the spot the Purflex was up a bit. I any case I cleaned out an area of the purfling from the top of the guitar to aways past where the sand through happened. I have a strip in the mail to replace the part I took out. Purflex is build so that it can seamlessly mate. I very carefully cleaned up the installed end I need to mate with so that I can get a seamless joint. Other than that I made my pearl logo (just taped on in the photo) have the back and sides finished sanded. I also put a few coats of shellac on the top as it (at least in the non-mucked areas) is finished sanded.


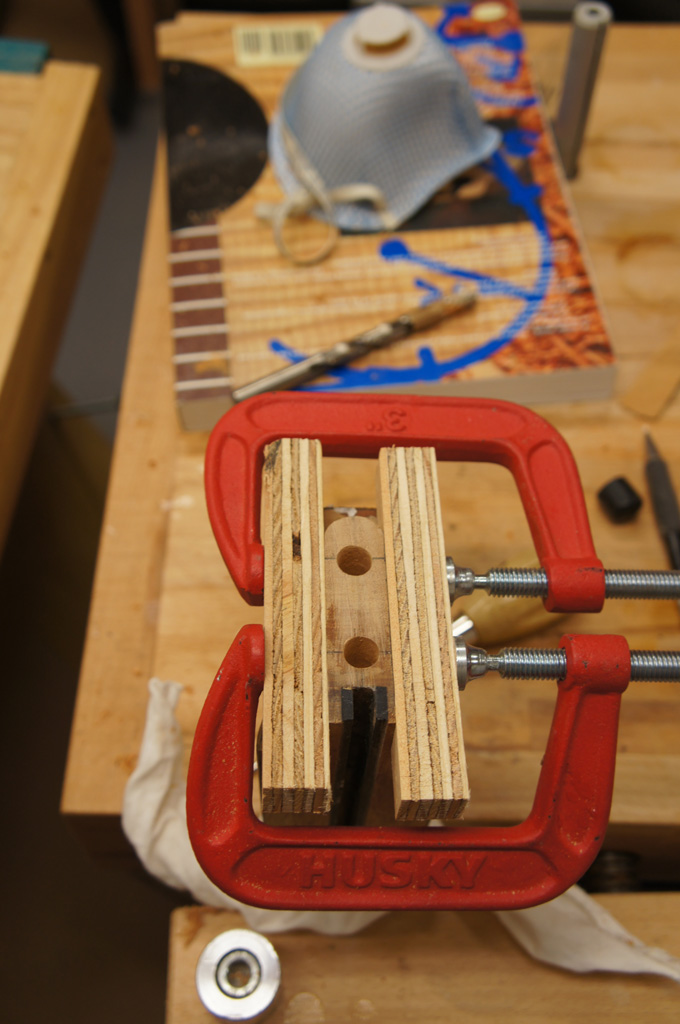 Before inserting the inserts I put in some hole centers and drive them into the neck block to make an indent. In the last picture I put a little pencil mark in the indents to make them visible.


 I drilled the holes for the bolts, but before I drilled the inserts I checked to make sure that I had the holes for the inserts deep enough to allow the bolt to fit without bottoming out.
 I put the clamped strips back on and set the inserts.

 One of the nice things with a Woolson neck jig is that you can set the angle perfect for the geometry that you want and have a nice clean neck to body joint with no need to set the neck angle. For me once I touch the cheeks all bets are off. The next 2 pictures are with the neck bolted on. I am just above the bridge with the straightedge on the fret board.